
目次
キュウリスティックの作り方
生のきゅうりをそのまま使います
1~2人分でしたら1本でよいと思います。

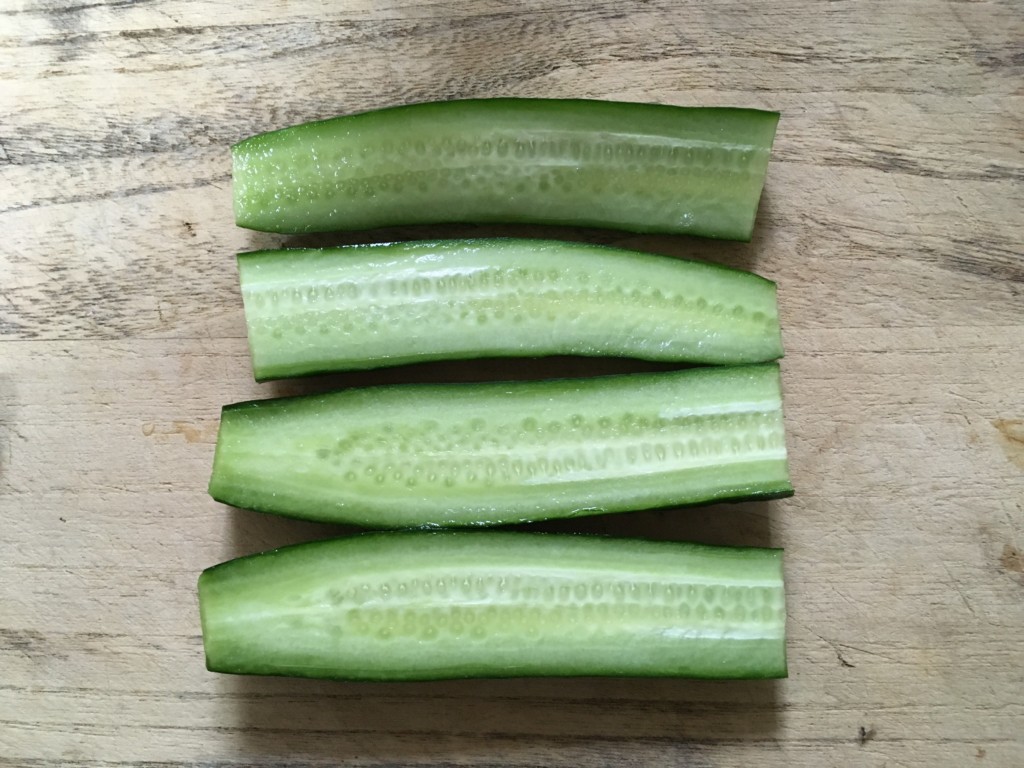
両端を切り落とし二等分カットします

二等分したきゅうりを縦に切ります
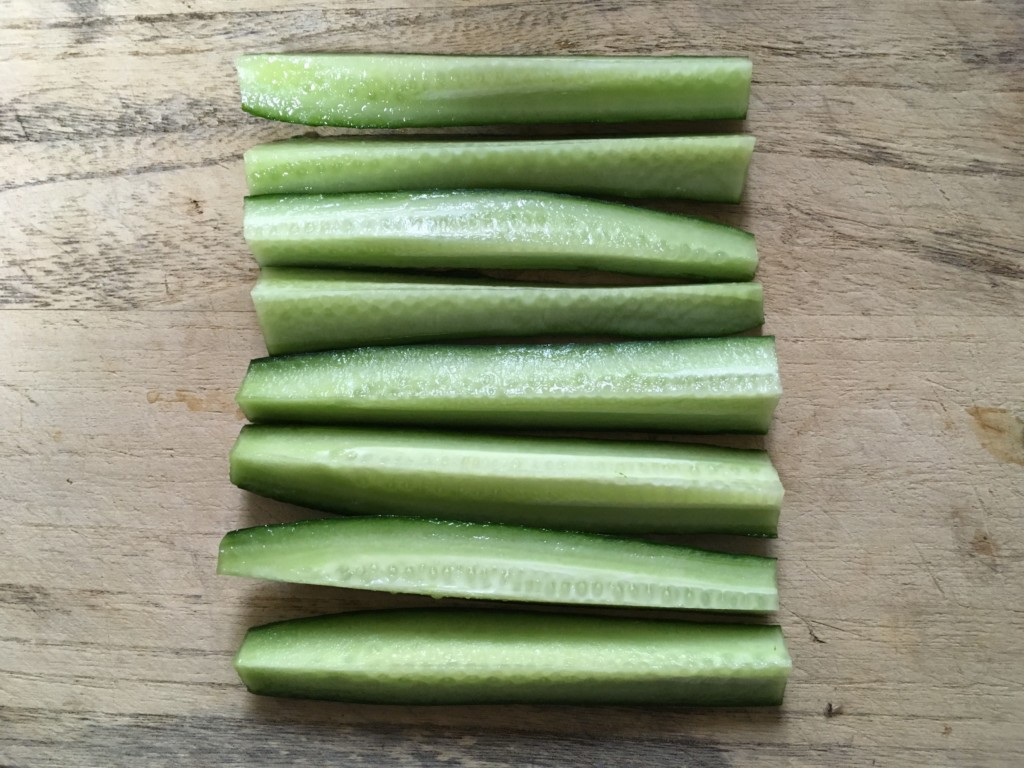
更に縦に切るとスティック状になります
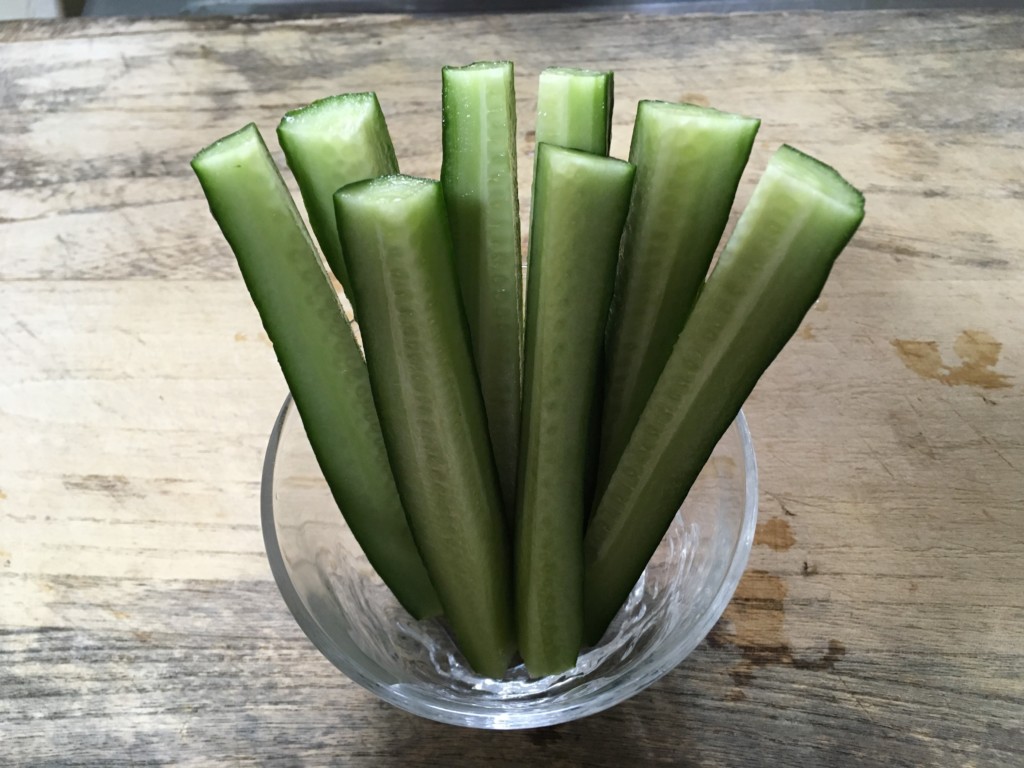
グラスに入れて出来上がり!
お好みに応じて、マヨネーズや味噌や塩を付けてポリポリといただきましょう。
おまけ
きゅうりを栽培しましょう
ホームセンターで苗を買ってきます。

苗を植えました
今回は3株植えました。プランターでも大丈夫です。

キュウリの育て方
苗に栽培方法が付いていました。植付期は4月中旬~で、6月以降に収穫出来ます。

最後までご覧いただき、ありがとうございました。
この記事がお役に立てれば幸いです。


コメントを残す